Showing posts with label free pattern. Show all posts

Wednesday, August 20, 2014

Eyelet Lattice Sock Pattern


The first sock is finished with this pretty KnitPicks Stroll Queen Anne Tonal yarn.  I used a free stitch pattern from NewStitchADay and used it to add a strip up the otherwise plain toe-up sock with a short row heel.  I am very pleased with the results and cast on the mate immediately!
If you are not a knitter, you will want to stop reading now!  For those who might like to perk up a plain pair of socks-read on!

The stitch pattern is easily memorized so no charts or having to mark your place.   You make three  yarn overs and the next time two-very easy to keep track of what you are doing!

Here is the pattern highlights if you want to try it yourself:

Judy's Magic cast on-12 stitches each needle (24 total) with a #2 circular needle

TOE-Increase to 30 stitches each needle.
FOOT-
Begin pattern insert over 12 stitches-round 1-k1, (p2, k1, ( k2tog, yo) 3x , k1, p2) knit  around.
                                                     round 2 k1, (p2, k8, p2) knit around.
                                                     round 3 k1, (p2, k2, (k2tog, yo) 2x, k2, p2) knit around.
                                                     round 4 repeat round 2
HEEL-
Measure the distance from your cast on to the place where you have increased to the 30 stitches.  Measure the length of your foot (or the recipient of the socks!)  , subtract the distance of the toe from this overall length and then subtract another 1/2" so the sock will have negative ease-this is how you will always have a sock that fits snugly and is not saggy!
Work a short row heel.  (check out YouTube for instructions here-I always work over 1/2 of the total sock stitches and decrease until the heel is the same as the toe-until I have only 12 stitches left just like on the cast on.)
LEG-
The pattern continues up until you do the ribbing at the top in k1p1 in a length that is pleasing to you.  I generally work until the leg of the sock (folded on itself ) is the length of the foot to the toe and then I do ribbing until the two halves match.  Bind off with a needle that is at least an #8.  It might look a bit loose while you are doing the bind off, but when you stretch it to wear it, the ribbing edge looks great!

Reverse the pattern area to the other side of the front for the second sock so the patterning will go up the outside of each foot so you have a pair!   (For example, the beginning of round 1 will be K17 , pattern, and end with k1 , knit around)

Sunday, December 15, 2013

Pointedly Ribbed Fingerless Mitts Update

 The pattern is finally correctly downloaded on Ravelry if you would like to have this free pattern!
You can use your hand spun fingering weight yarn or commercially made for a fast and easy knitting project!  The ribbing makes for a very versatile fit!

(Just search under patterns on http://www.ravelry.com/patterns/knitting for the Pointedly Ribbed Fingerless Mitts and you will find the link to download the pdf-happy knitting!)

Wednesday, November 27, 2013

Designing and Knitting

 I liked the first mitts I made, the one on the right.  They almost filled the idea that was in my head.  But I tweaked the pattern and yes--This is what I wanted it to look like!  I needed some definition to the point ribbing on the back of the hand.
 And I used the new knitting software I bought and created a pattern for them!  If you would like the pattern for free, just leave me a comment (and email address if it isn't imbedded in your signature) and I will email you the pdf for Pointedly Ribbed Fingerless Mitts!
 I also finished the last of the puppy hats-this one in darker colors to reflect her own dog!
 My FiberBinderClub package got lost in the mail last month but it is finally here along with this month's!
 I hand carded the pygora fiber
and the mohair so they are ready for spinning!
This is what the beautiful sock looks like that I worked on this week!  I got all done and tried it on and it fit perfectly...unfortunately, it is for my daughter and it was not long enough even though the pattern said it was for a larger foot.   I reworked the whole pattern to make it 1" longer and a 1/2" wider so I know it will work when I knit it again!!!  It is all  part of the art!

Monday, June 3, 2013

Completion Satisfaction

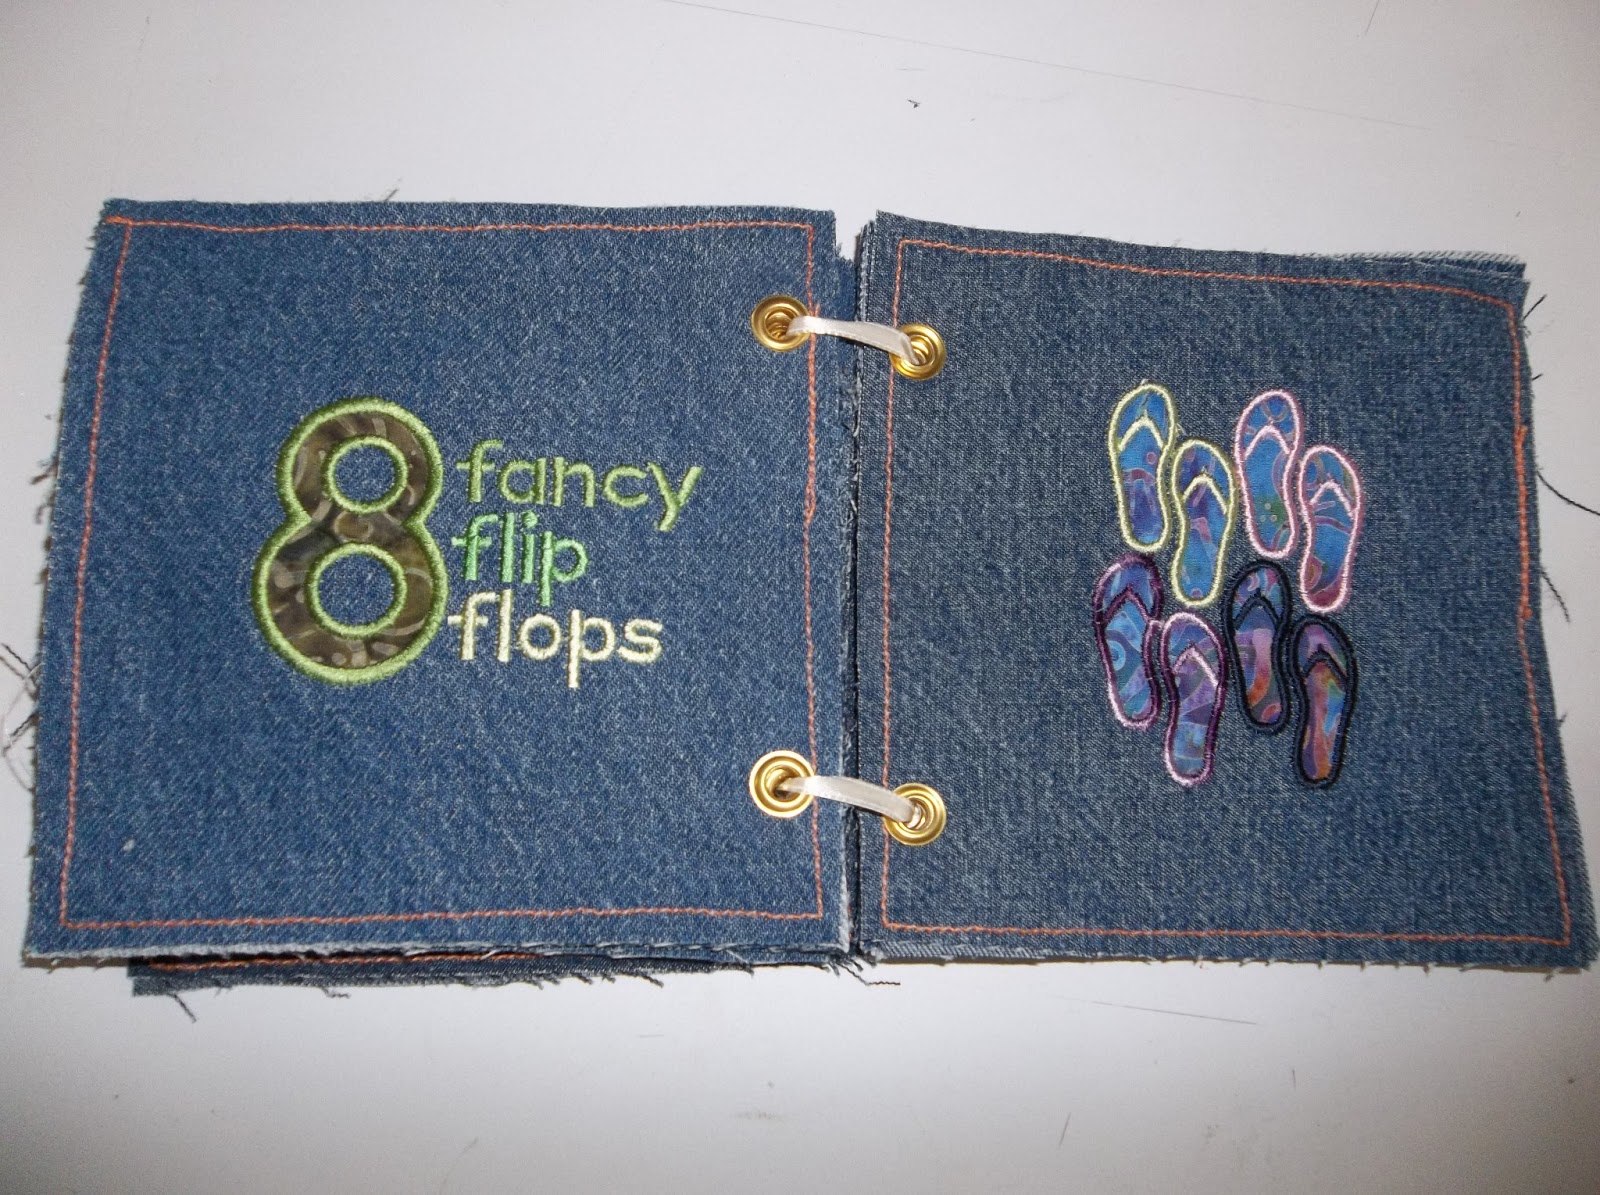
 Over the last week, I have been embroidering these denim squares for a counting book.  When I saw this pattern in a magazine, I knew I had to make it and I had a stash of old denim legs saved for a someday project and this is it!   I sewed the appropriate pages together leaving the edges raw for fringing like a pair of jeans.
 I sewed the appropriate pages together leaving the edges raw for fringing like a pair of jeans.
I placed grommets in each of the pages and then temporarily tied it with ribbon but I will be purchasing some binder rings to finish the book.
Here are a few pages up close-isn't it going to be a great gift?
 Every page is beach related and very well designed with both embroidery and applique in the hoop.
 The embroidery designs are free in this month's issue of Creative Machine Embroidery magazine.
 Now, I only have two more to embroider since I have all three babies coming the end of this month!!!    ( Some pages are only 20 mins to embroider-others, an hour!  It is so worth it!)
 I also finished up some dishcloths as my stash was depleted.
And the ripple socks finally are off the needles!  The ripple I finally decided that gave me the affect I wanted is an easy repeat of K2tbl, k3, yo, k2, yo, k3, k2tog-repeat around over 60 sts and then work one round even in knit.  The self-striping yarn makes it look a lot fancier than it is!  Nice way to break up a pair of 'plain' socks!  Give it a try!

SEEING COLORS

I added the last row to the mosaic of hexagons;  it is 48" x 60".  The yarn is from ancient skeins of  Homespun yarns  by LionBran...