I begin with a 12" cement paving block I purchase from Home Depot;
I have several for when the mood strikes me-they are very inexpensive.
I cover the top surface with tile adhesive using the sawtooth trowel for applying it to the block,
that's why you see the lines.
Then comes the fun part; placing the pottery, tiles or ceramic pieces
to make the design you feel like!
My youngest son brought me a baggie of these blue tiles in 3 sizes leftover from a job.
I had such fun placing the 'footprints' all over the surface of this one!
I have plenty of tiles left so I will be making another one, I think!
Now I have to wait 24 hours for this to dry completely before I can apply the grout.
Patience is developed, you know....
Now this project didn't need hours before each step!
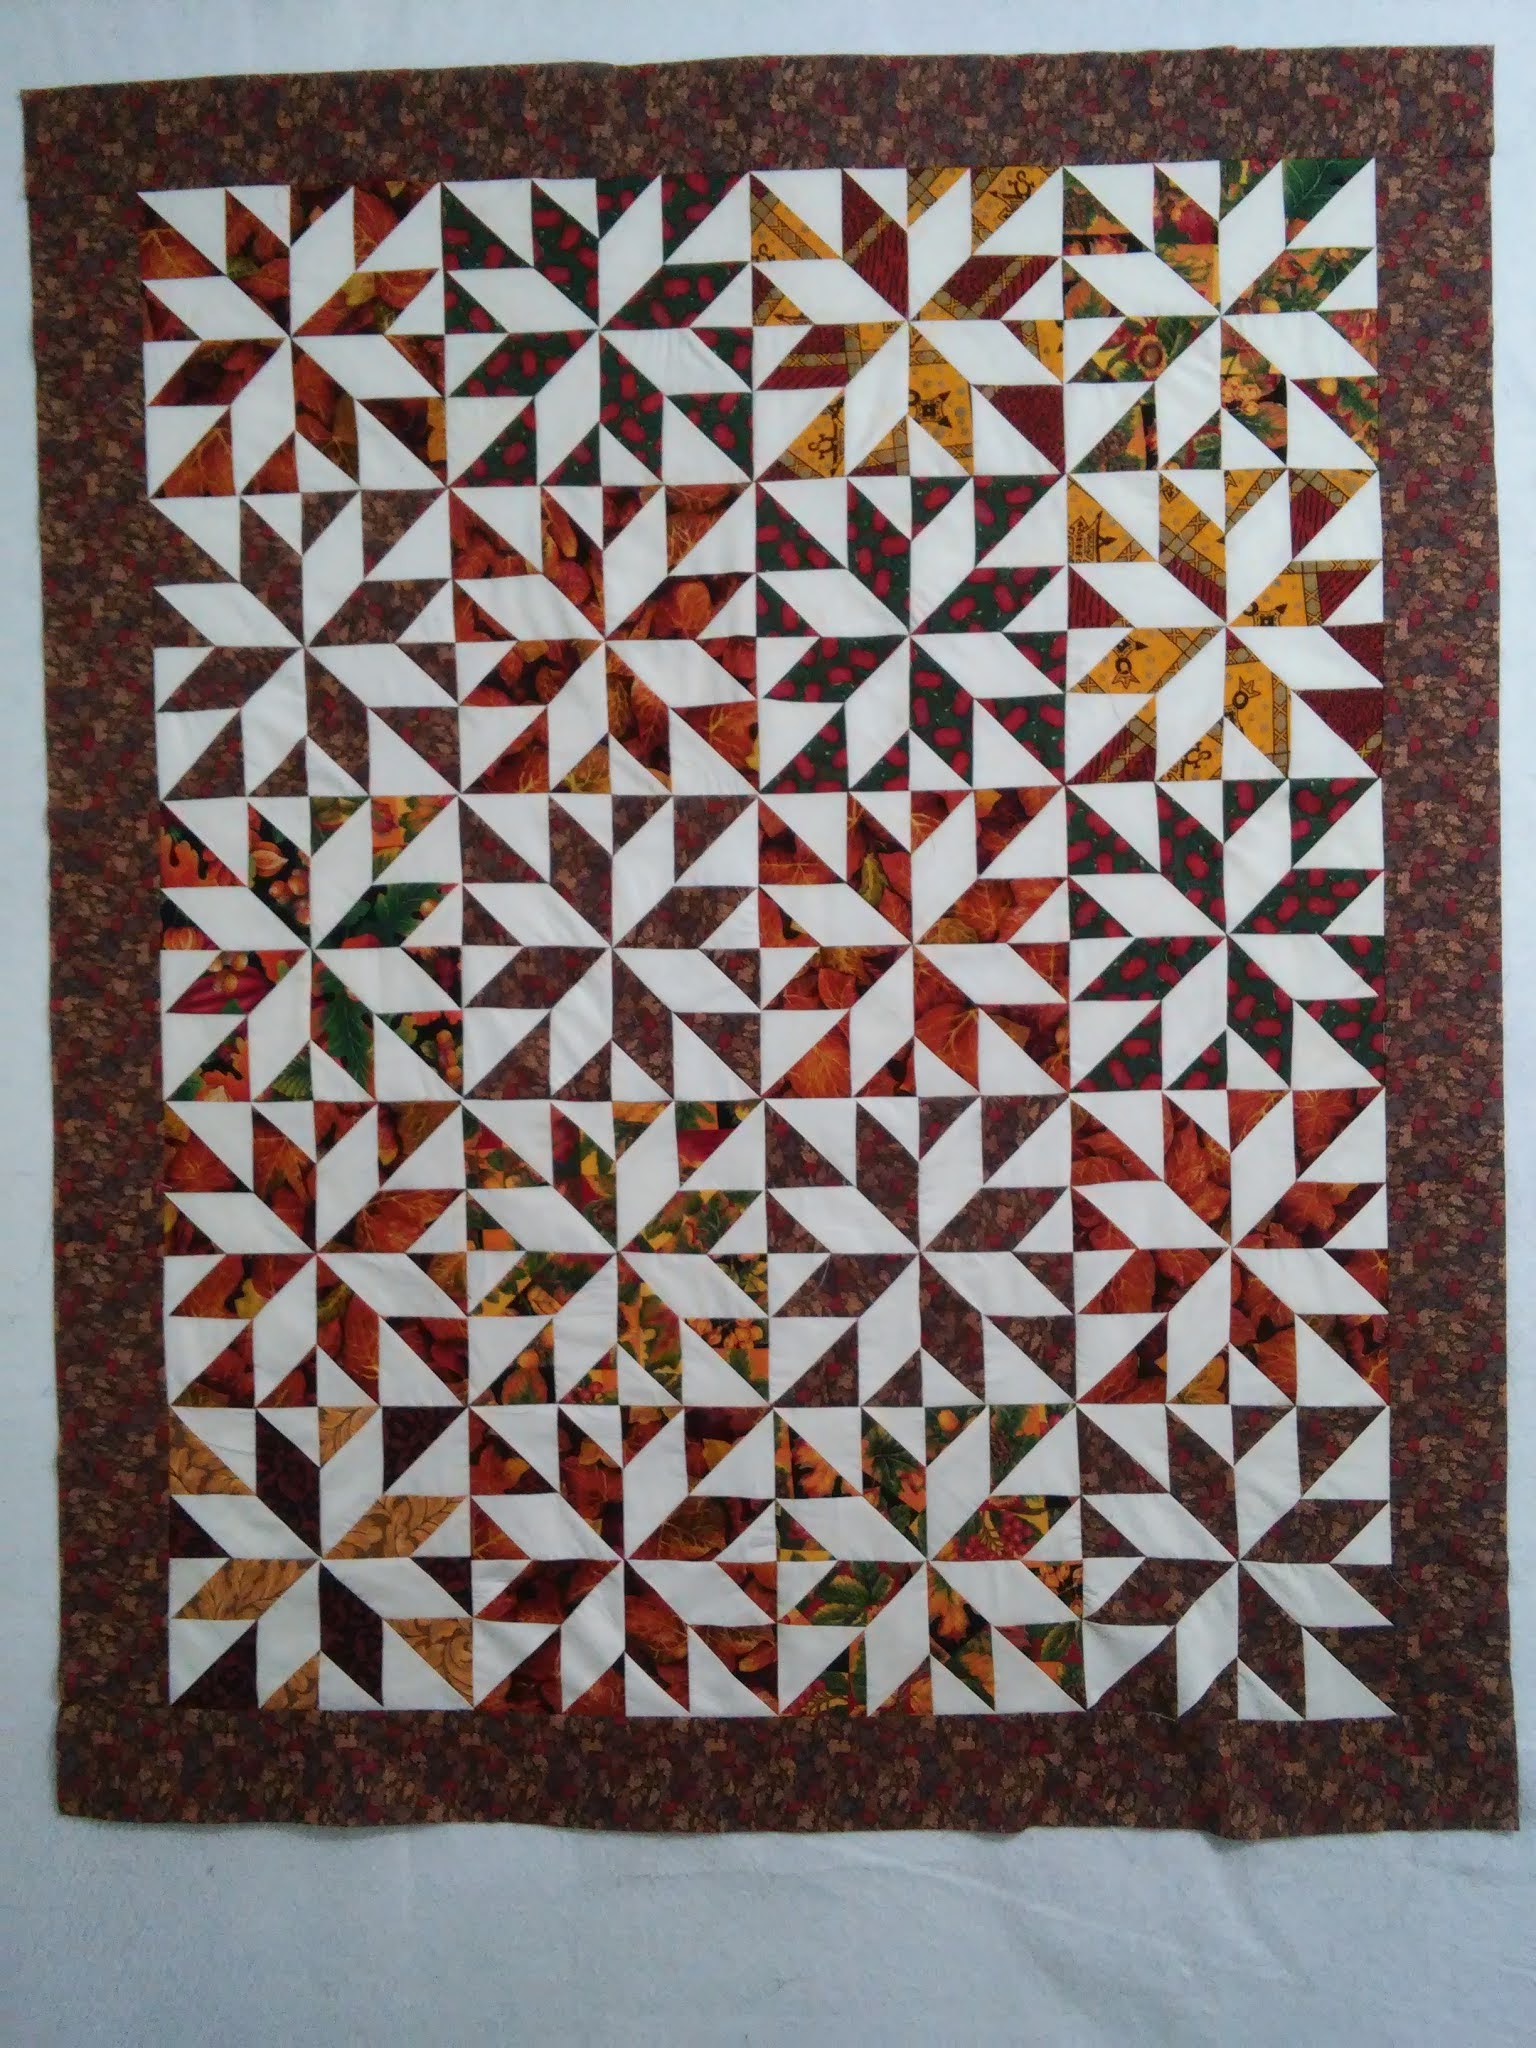
I finished piecing the last four blocks,
then stitched all of the blocks together and then cut the borders and attached them!
The whole thing is pressed and waiting in the quilting frame pile!
Ahhhh, this was a good project!
It is 42" x 51".
Now this project....it is an experiment to extend the life of Bill's socks.
He must have bony heels because he wears out socks at there and at the ball of his foot.
So this is our plan, I traced his foot, cut the leather from deer hide
(from one of the bucks he had shot 20+ years ago!)
and remembered to reverse the second tracing so he would have a right AND left sole.
Then the tedious but not difficult job of piercing the holes every 1/4" around the outside of the piece.
I do own a punch for making these holes;
again, having the right tool for the job sure made it easier and professional.
I must admit, I gained an appreciation for cobblers! lol
No wonder there was a fairy tale for getting the elves to help them get their work done!
It takes a lot of time to get the job done, one step at a time!
Today's watercolor is going to be an easy guess-have a go at it!